Fall platters are for sliced turkey. But fall decorative trays are for anything you want. Anything.
Pack ’em up with mini pumpkins. Pile on dried twigs and candles (as long as the two aren’t touching).
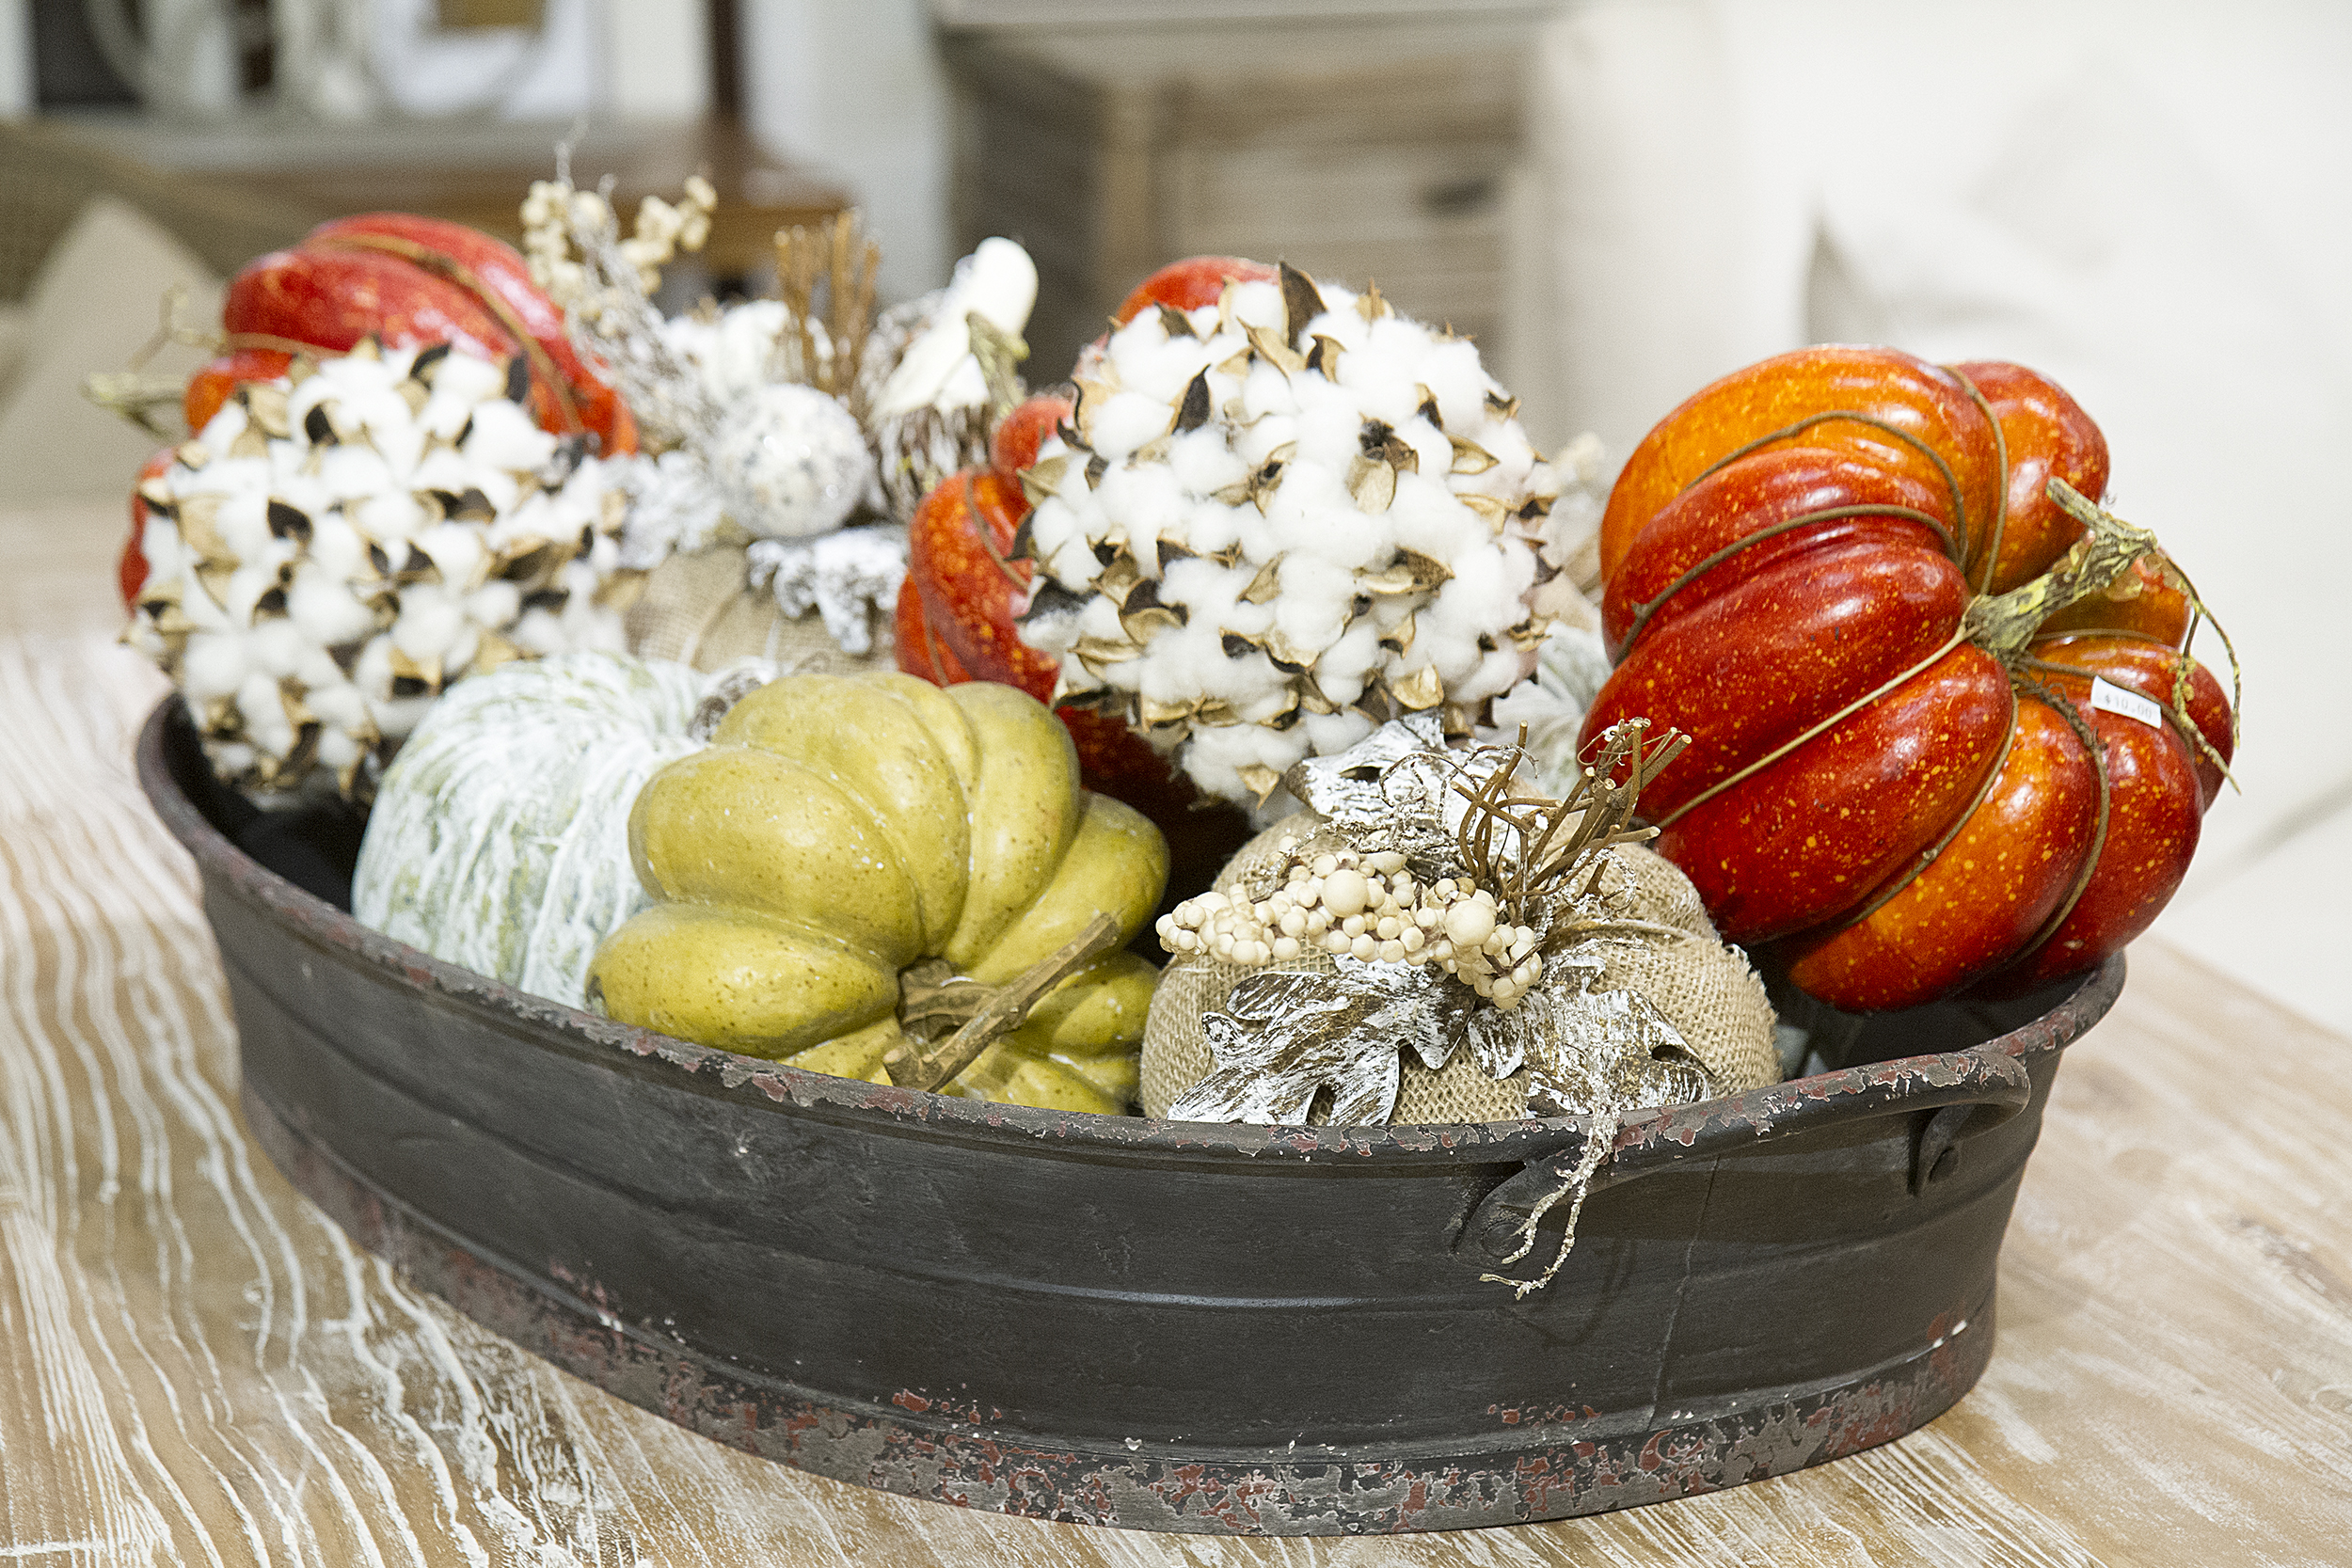
And decorative trays are so very easy to make.
In our videos, we create two different decorative trays in 15 seconds each!
OK, fine. It’s time-lapse stuff.
But you can whip up dandy decorative trays rather quickly. Take a few quick tips from Laura.
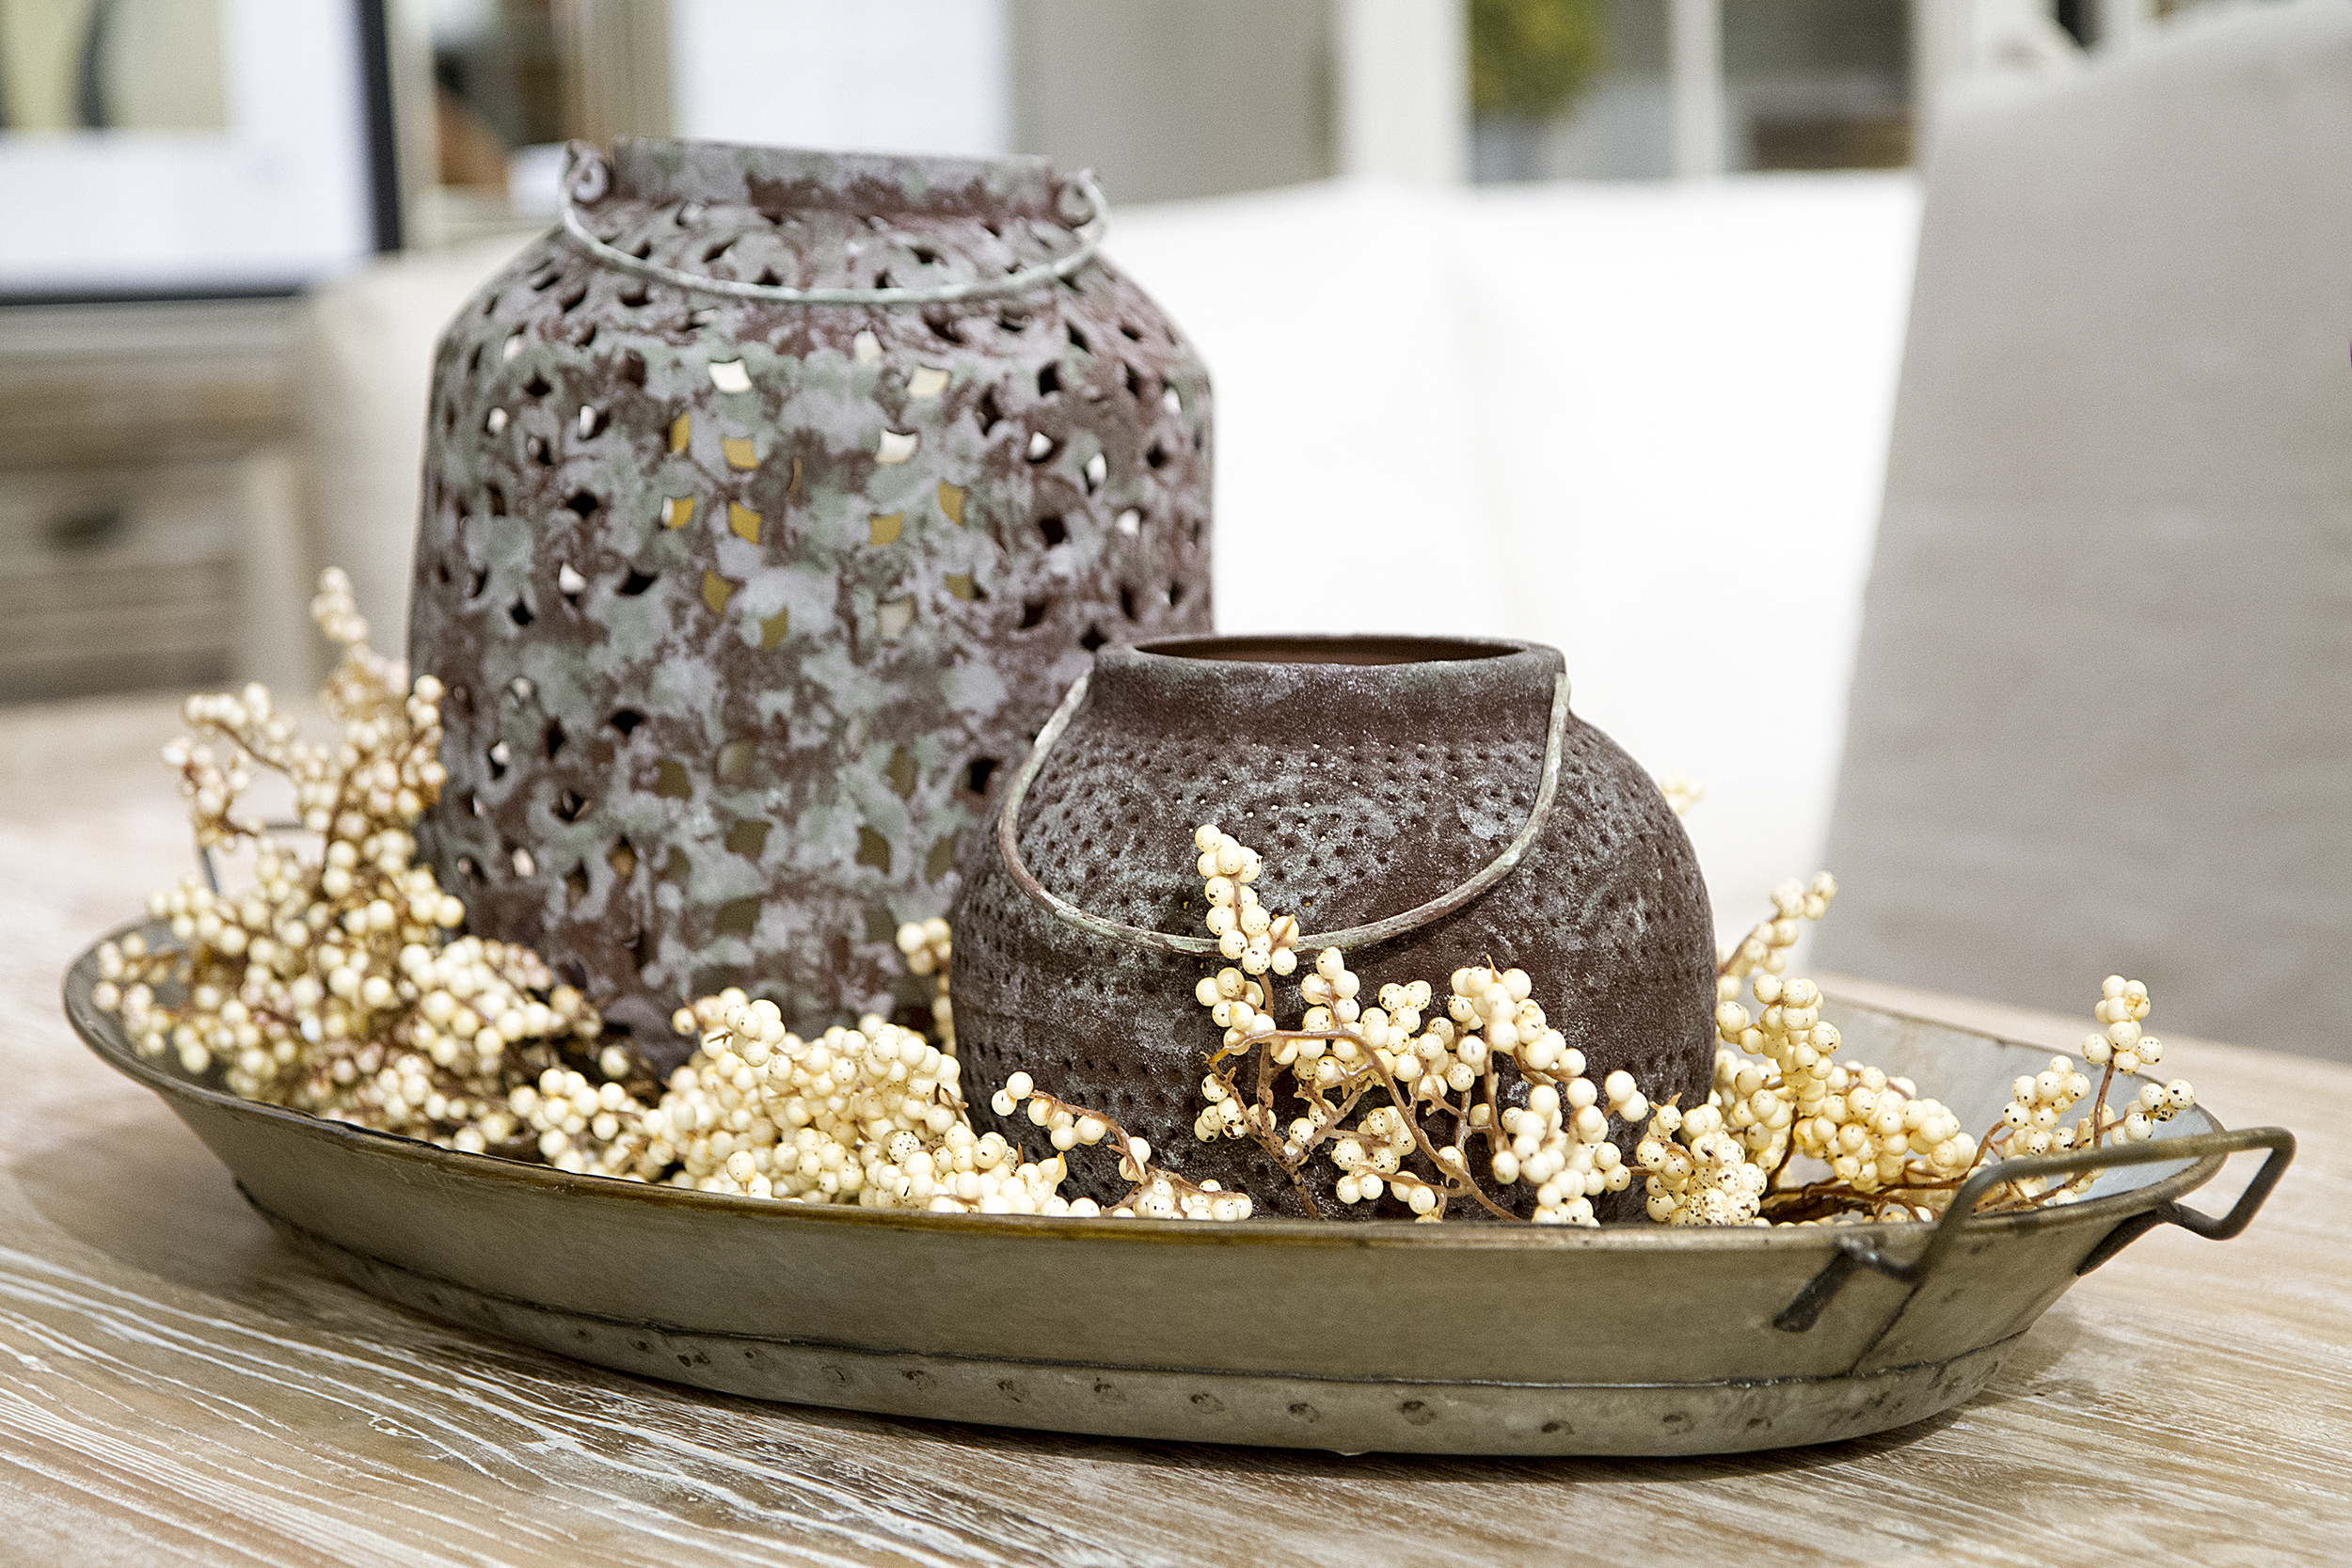
Laura is our tray master here at Laurie’s. We bow to her during the autumn season.
Laura’s Rules for Decorative Trays
- Think of the tray as a giant puzzle. Move pieces around until you have no gaping holes. Gaping holes are ugly. Gaping holes will ruin the whole thing.
- Go for an array of textures. A variety of colors. And don’t put two similar things next to each other, for goodness sake!
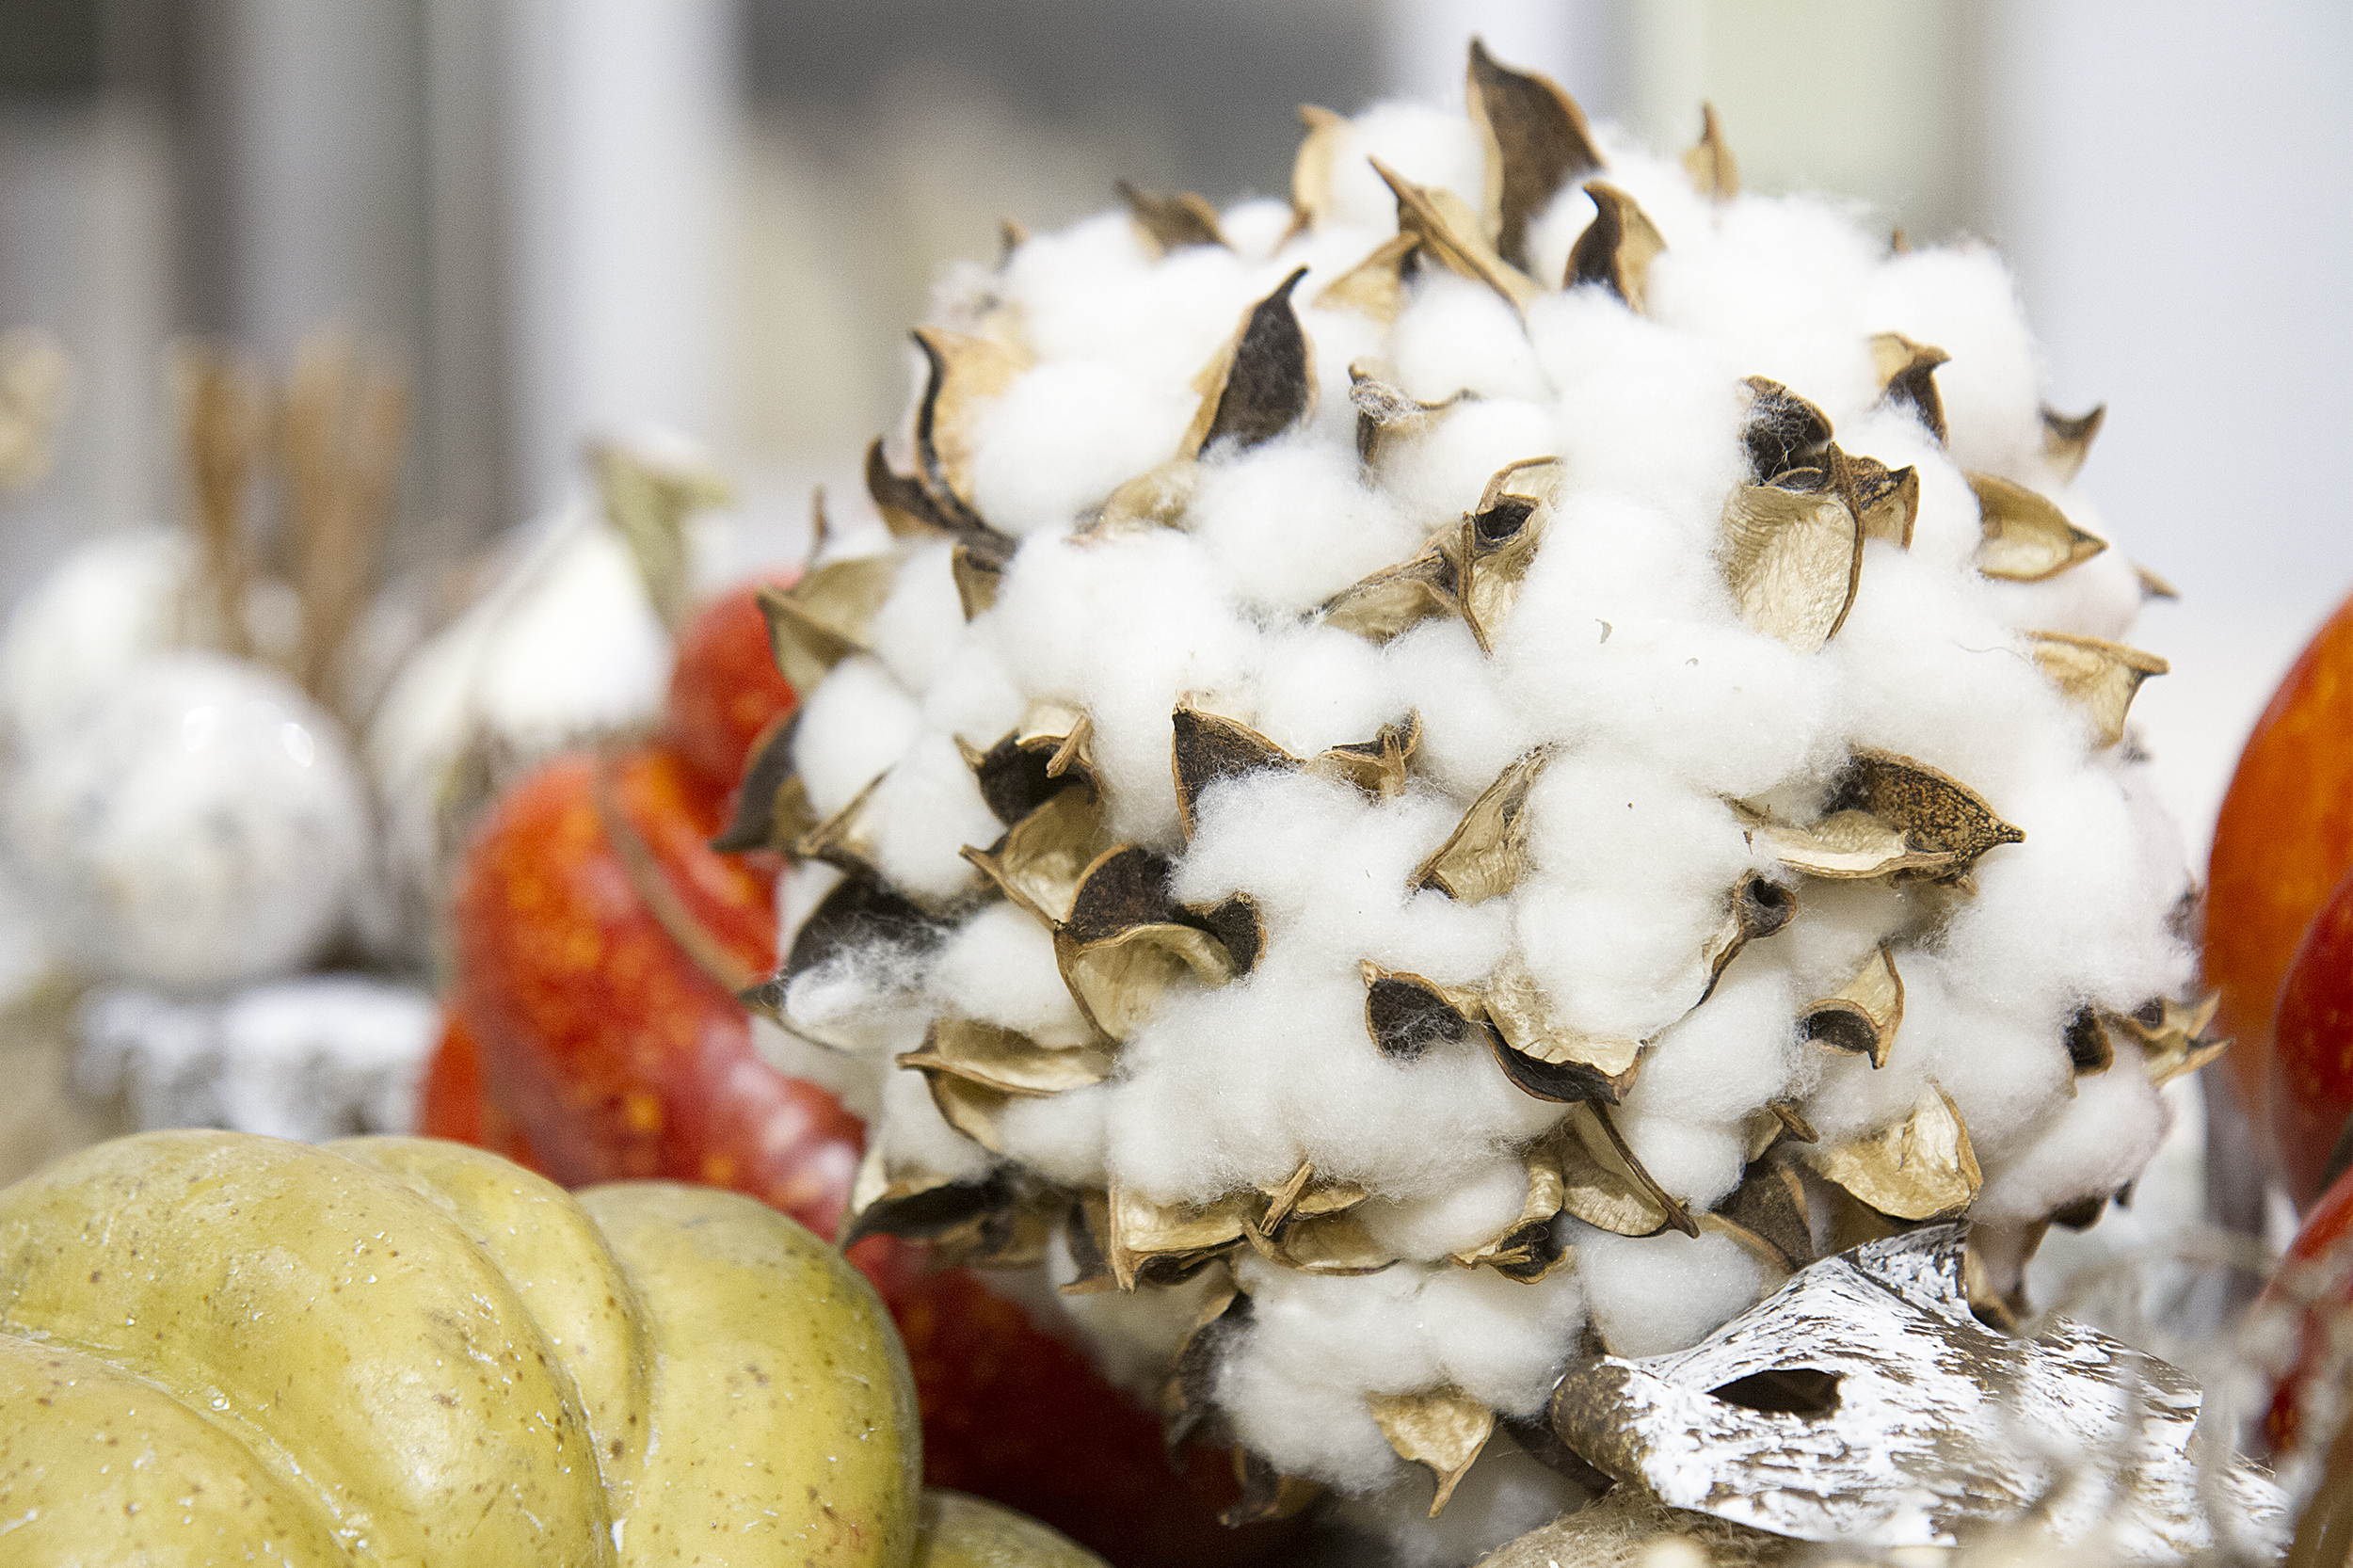

- Start with one large anchor piece. Branch off from there.
- Create to scale, biggest mistake people make. Don’t put a dinky tray on a huge table in a wide room with high ceilings. Big rooms and big tables = big trays. Little rooms and little tables = little trays.
- Use a tray shape that mimics the shape of whatever it’s sitting on. Round table = round tray. Long ottoman = long tray. Rectangular shelf = c’mon, fill in the blank! You got this!
- Use sets of three for each item. Things always come in threes. Three makes a trio. Trios are good. You can break this rule without penalty. Just keep it in mind.
- Fill holes with picks, wreaths, and other sprig-ey things. See rule No. 1 about the puzzle.
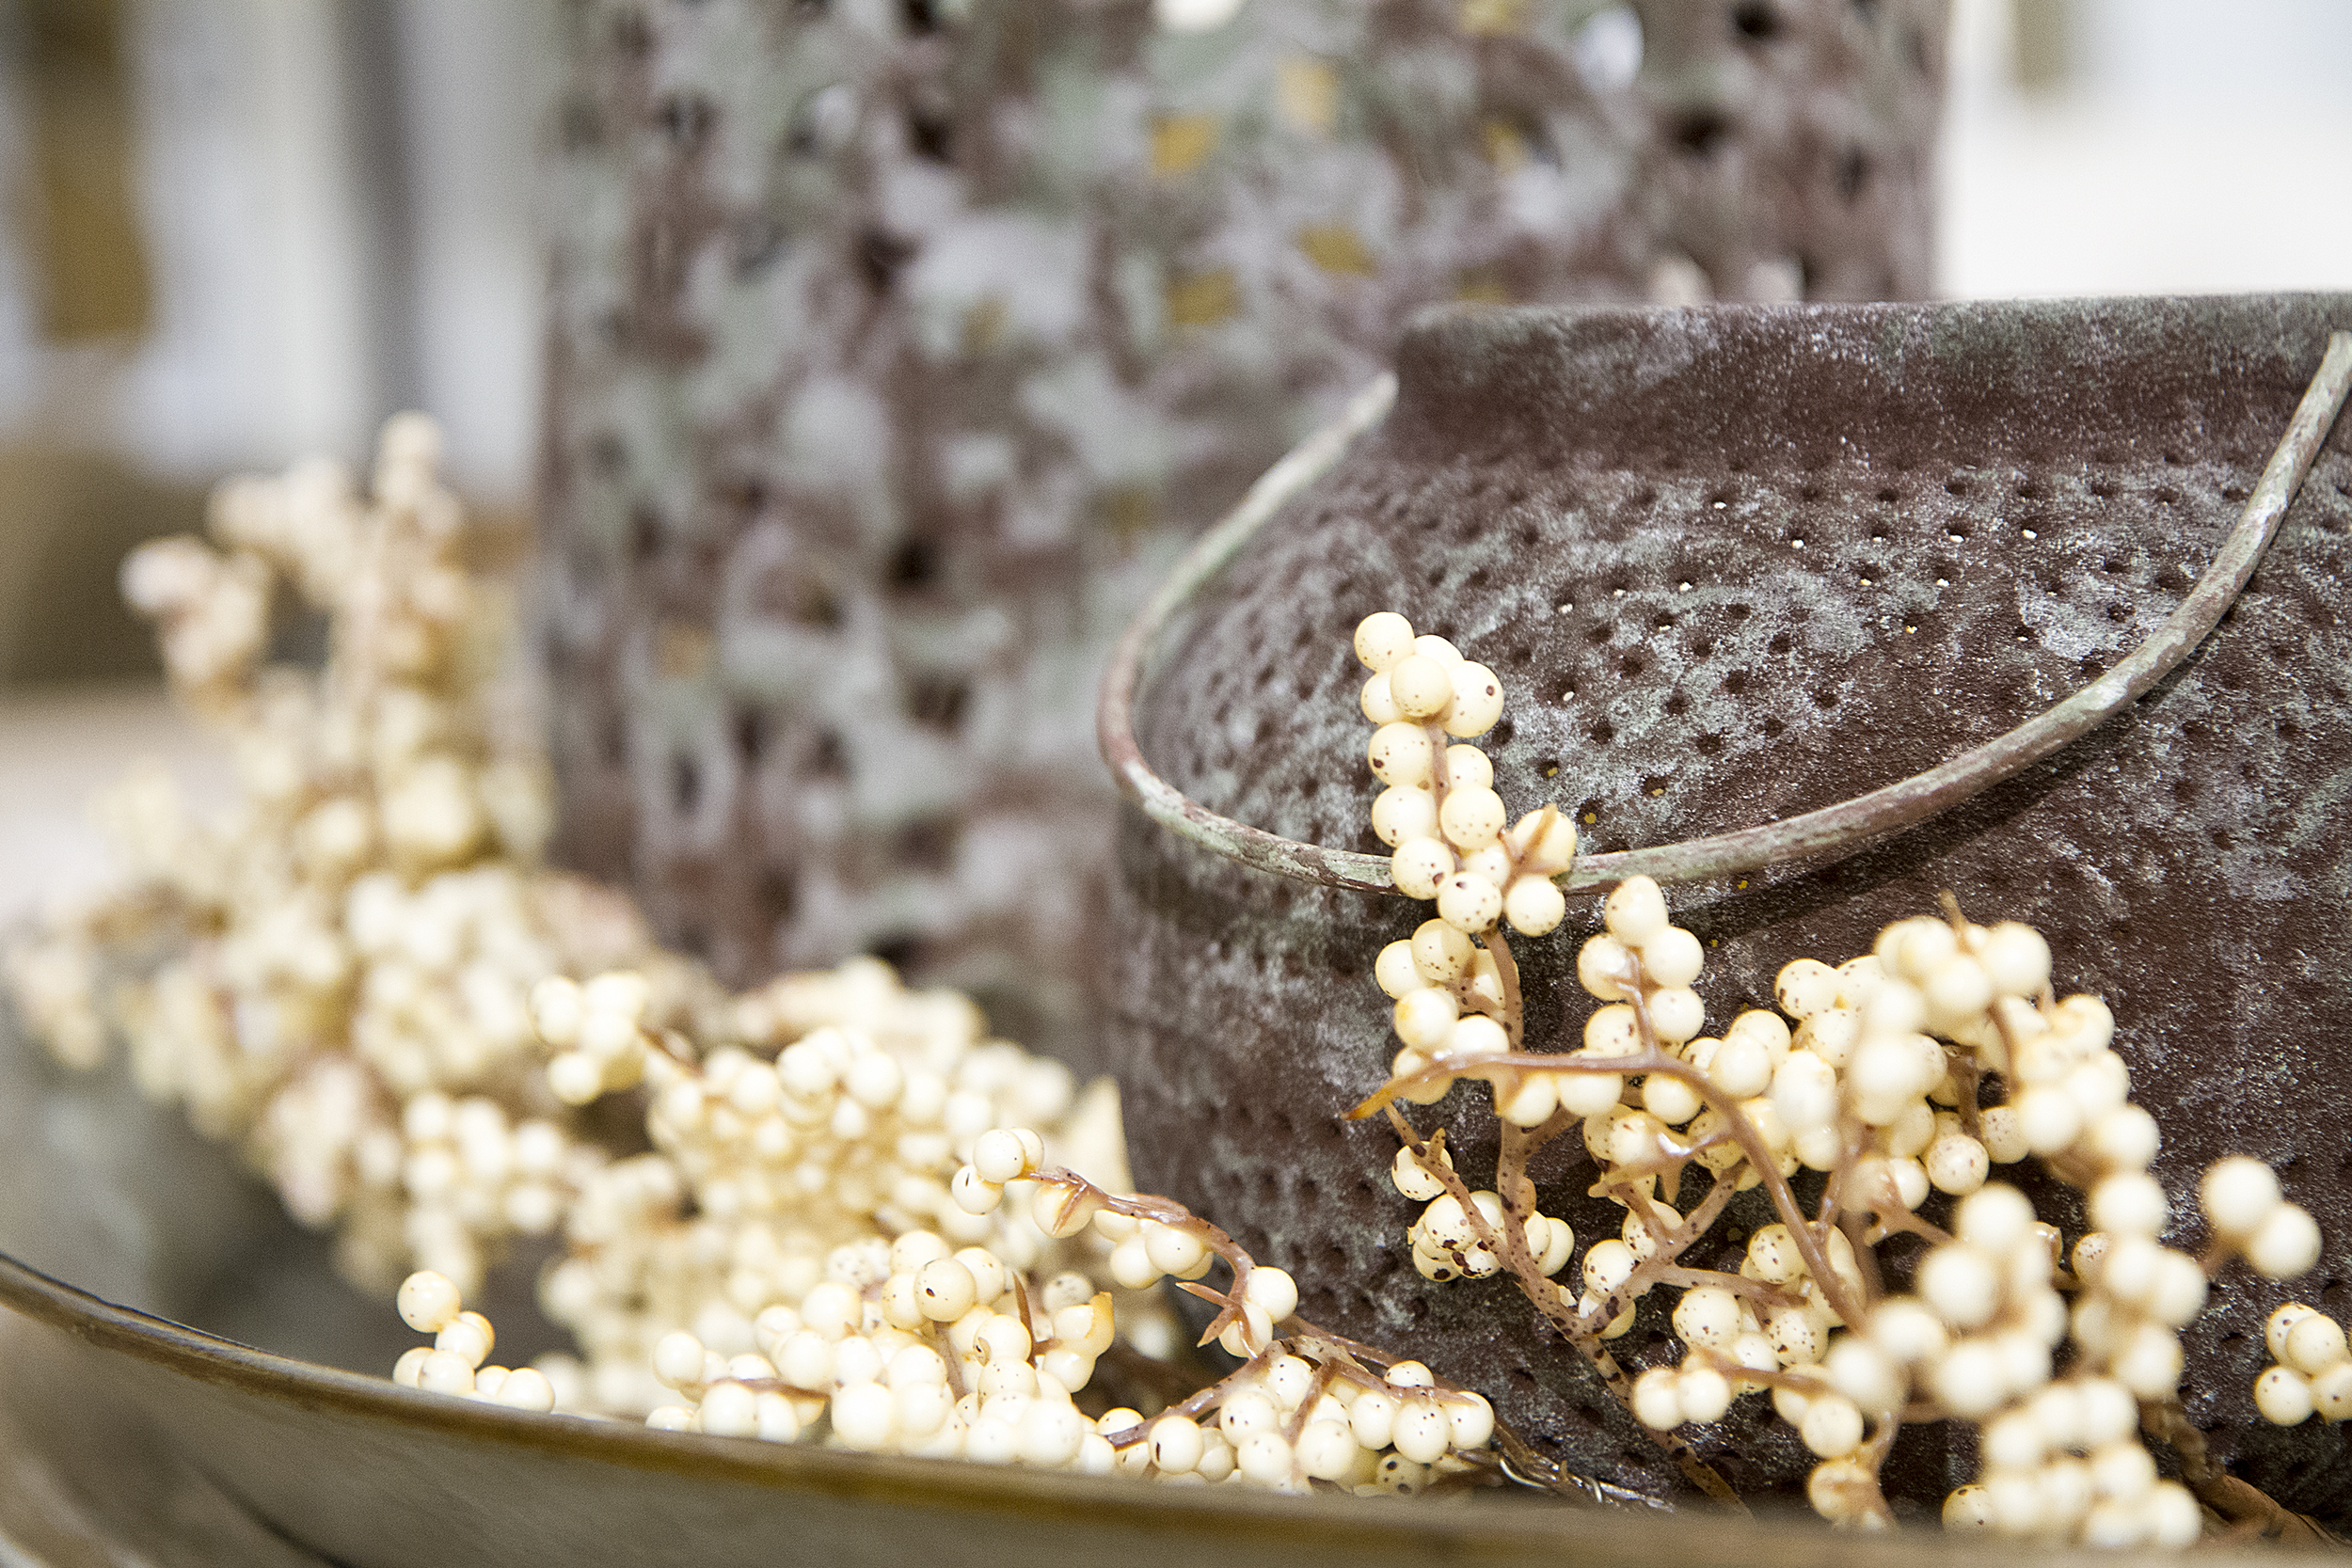
And remember, above all else, gaping holes are ugly. Gaping holes will ruin the whole thing. Enjoy!

Recent Comments